eSpeedMusic Search Description
eSpeedMusic Search is advertised as a useful tool which can help you ‘easily search the web for FREE unlimited music, song, full albums, music videos.' This service sounds useful, right? However, it will deliver you a lot of advertisements with deals, discounts, coupons, and promo codes when you visit online stores, commercial websites, or even any site.
eSpeedMusic Search is mainly designed for advertising purposes. Since it is disguised as a legitimate and useful handy tool that you should keep on your PC, many computer users get cheated and install this program into their computers. Please also note that this adware often comes via free downloads. So you may find it in your computer even if you don’t directly download and install it.
Besides, added as a browser extension, eSpeedMusic Search can also cause some redirects to the suspicious third-party websites which may recommend fake updates or other potentially unwanted software. Moreover, it is able to gather your browsing history, search terms, and other non-personally identifiable information. You should be careful with this adware.
Easily Delete eSpeedMusic Search from Infected PC
If you need help get rid of this adware and the associated ads or redirects from your computer, you might as well try the useful methods below.
Guide 1: Manually Remove eSpeedMusic - Useful Step-by-Step Removal Guide
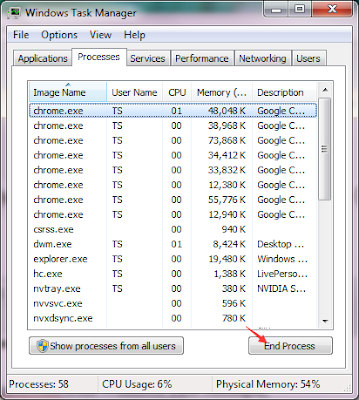
Step 1. Stop all running processes of eSpeedMusic
Right click on taskbar and then select Start Task Manager to open Windows Task Manager. Find out and stop the processes of this browser hijacker
Step 2. Remove eSpeedMusic from Control Panel
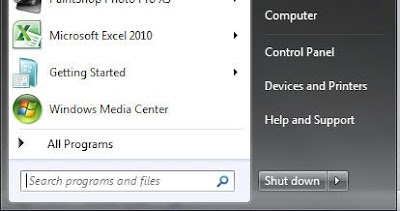
For Windows 7 Users:
Click Start button >>Control Panel >> Programs and Features/ Uninstall a program >> find its program and right click on it and then click Uninstall to uninstall the program
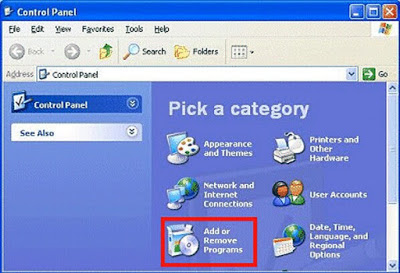
For Windows XP Users:
Start button >> Settings >> Control Panel >> Add or Remove Programs >> click Remove to delete the programs you want
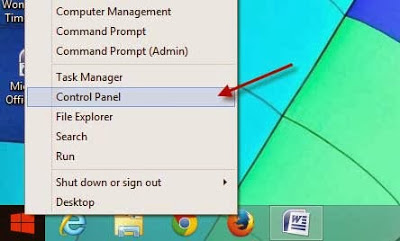
For Windows 8 Users:
Click on Start button >> select Control Panel >> choose Programs and Features >> find its program and right click on it and then click Uninstall to uninstall the program
Step 3. Remove all malicious add-ons from web browsers
For Internet Explorer:
Start Internet Explorer >> Click on gear icon at the top right corner >> choose Manage Add-ons >> find out and click Remove to delete any recently-installed suspicious extensions
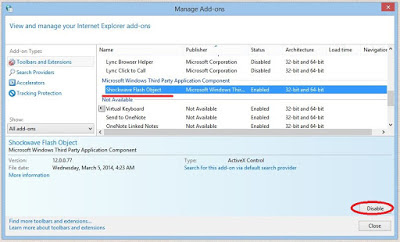
Navigate to Search Providers >> set any search engine you like as your default search engine >> click Remove to delete any search engine you want to

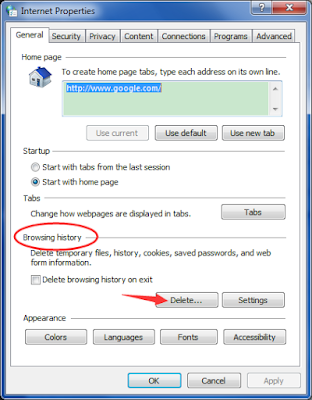
Click gear icon >> Internet Options >> click General >> remove random URL in the blank, then you can type any domain you like into the blank as your homepage
For Google Chrome:
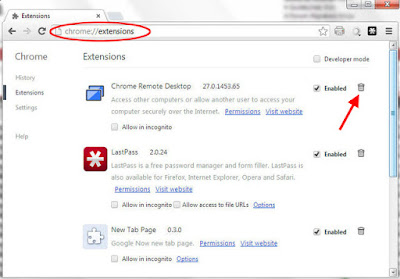
Start Google Chrome >> Chrome menu icon at the top right corner >> Tools >> Extensions >> find out all recently-installed unknown browser add-ons > click trash icon to delete them one by one
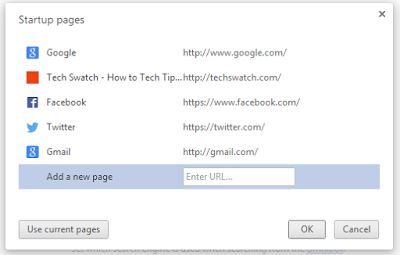
Navigate to Settings >> On Startup >> set pages >> click x symbol to delete random URL >> type any domain you like into the blank as your start page or select the one you like as your start page.

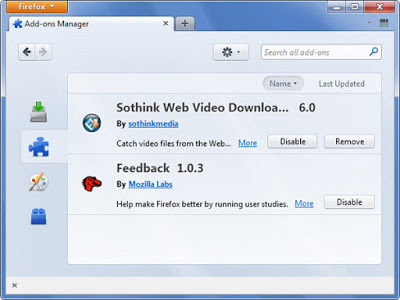
For Mozilla Firefox:
Start Mozilla Firefox >> Firefox Menu at the top right corner >> Add-ons >> Extensions >> find out and remove all suspicious browser plugins recently installed
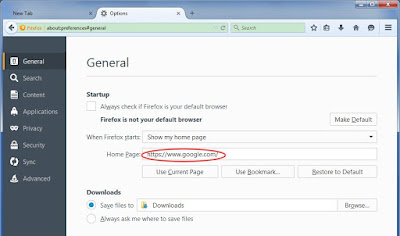
Firefox menu icon at the top right corner >> Options >> General tab >> click on Restore to Default button >> click OK
Step 4. Reset your web browsers (You will clear the login details stored by web)
For Internet Explorer:
1. Open Internet Explorer, click the gear icon >> Internet options
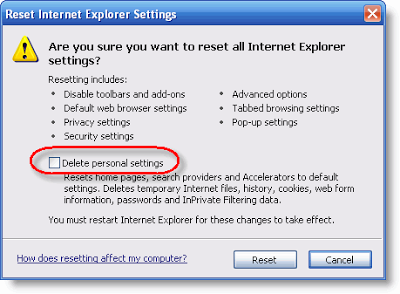
2. Go to the Advanced tab, click the Reset button >> Reset Internet Explorer settings >> Delete personal settings >> click on Reset option.
For Mozilla Firefox:
1. Open Mozilla Firefox, go to the Help section >> Troubleshooting Information.
2. Select Reset Firefox and click Finish.

For Google Chrome:
1. Click the Chrome menu button, select Tools >> Extensions, find unknown extension and remove them by clicking Recycle bin.
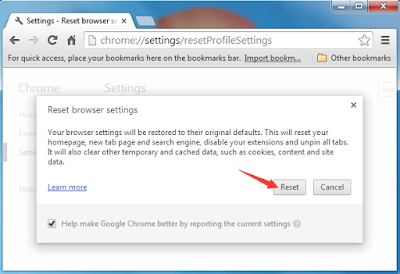
2. Click Settings >> Show Advanced settings >> Reset browser settings and click Reset.
* After finishing all the steps above, please restart your web browsers to check whether the steps above take effect.
Guide 2: Automatically Remove eSpeedMusic with SpyHunter Anti-Spyware/Malware
Step 1: Download and Install SpyHunter to Detect and Remove eSpeedMusic and Related Infections.
- Why do we recommend SpyHunter to you?
- SpyHunter is a powerful automatic removal tool which can help users to clean up the infections like worms, Trojans, rootkits, rogues, dialers, spyware,etc. It is your best choice to remove eSpeedMusic.
1.Click icon “Download” to save SpyHunter-Installer.exe.

2.Click the button “Run” to run SpyHunter-Installer.exe to install SpyHunter step-by-step.

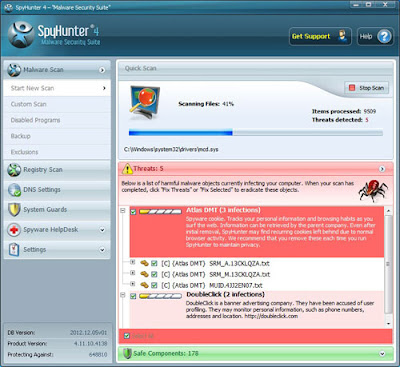
3.When the SpyHunter is set up successfully on your desktop, you can click the button“Malware Scan” to scan and detect your computer thoroughly for eSpeedMusic and other suspicious programs hiding in the computer system.
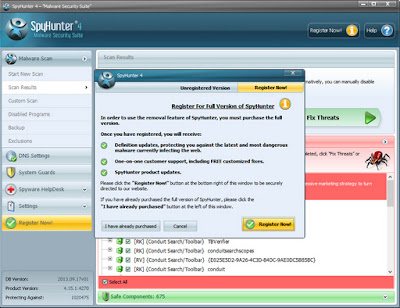
4. After all the results come out, click on Fix All button to remove all threats.
Warm Tips:
eSpeedMusic is not a recommended search engine for computer. You’d better remove it from your computer as soon as possible. If you have difficulty removing eSpeedMusic completely, you are recommended to choose SpyHunter Malware Removal
No comments:
Post a Comment